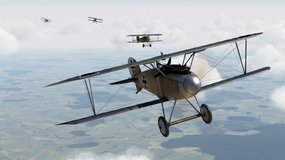
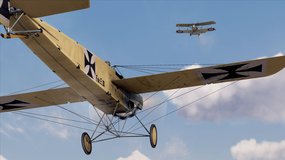
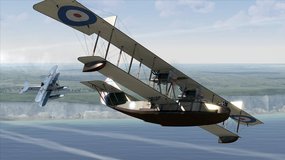
For the first time - Fly over both fronts in WWI!
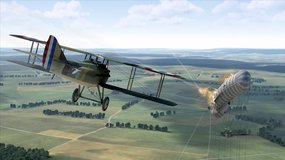
Battle for supremacy
of the sky!

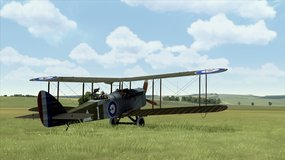
It's easily one of the best flying and best looking games on the market